Haunt at Great Oak
The haunt returns October 2025
Premade Tombstone Materials
Tombstones - Required
Glow-in-the-dark paint - Optional
Paint brush(es) - Optional
Black light - Optional
Tombstones - Required
Glow-in-the-dark paint - Optional
Paint brush(es) - Optional
Black light - Optional
You can either decorate with premade tombstones as-is or you could get some glow-in-the-dark paint and let your imagination get creative. There is paint available that is able to get a charge from sunlight and will glow at night. If you do paint premade tombstones, it is recommended to use a black light so you can see exactly where things should appear.
Custom Tombstones
Here are the videos that helped us learn what we know about custom tombstones; however, we didn't follow everything they outline, so that will be explained below.
Wicked Makers on YouTube (first one we came across)
VanOaksProps on YouTube (where Wicked Makers got their idea)
VanOaksProps - mounting tombstones on YouTube (how to attach to the ground)
Custom Tombstone Materials
2 inch foam board insulation - Required
Drywall saw, or Cutting tool - Required
Rotary tool - Required
Drylok gray, or similar, masonry sealer - Required
Paint brush(es) - Required
Acrylic paints - Required
Spray bottle - Required
Heat gun - Required
Gorilla glue - Optional
Hot glue gun - Optional
Fake moss - Optional
Elmer's, or craft, glue - Optional, used for fake moss
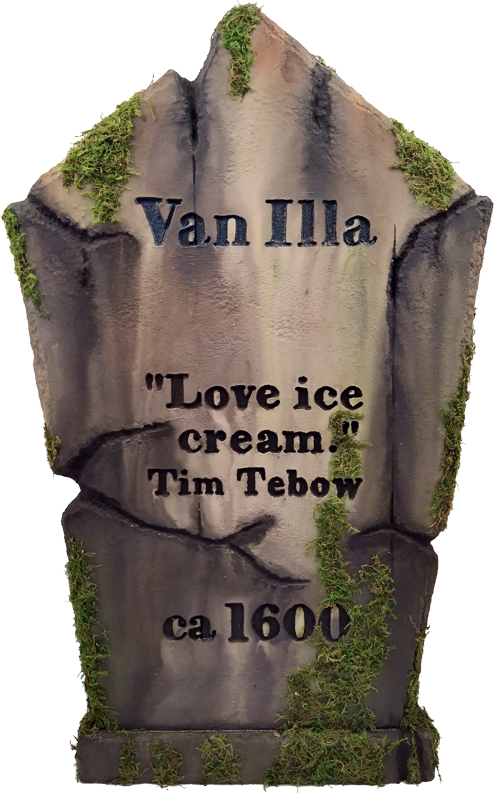
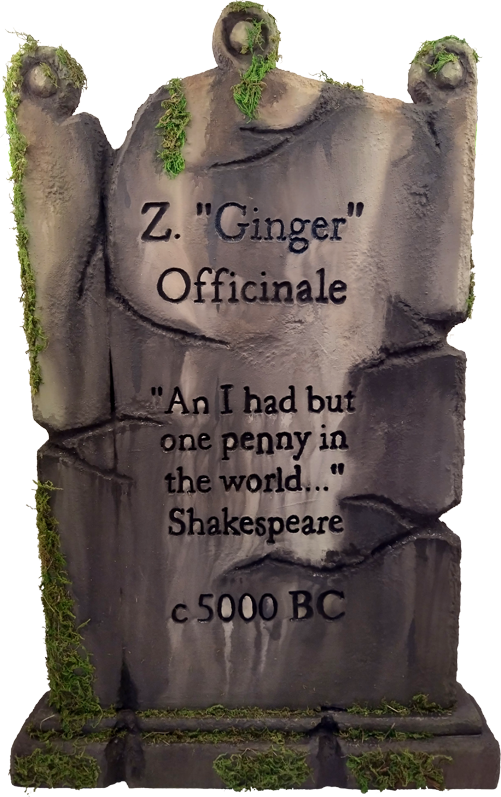
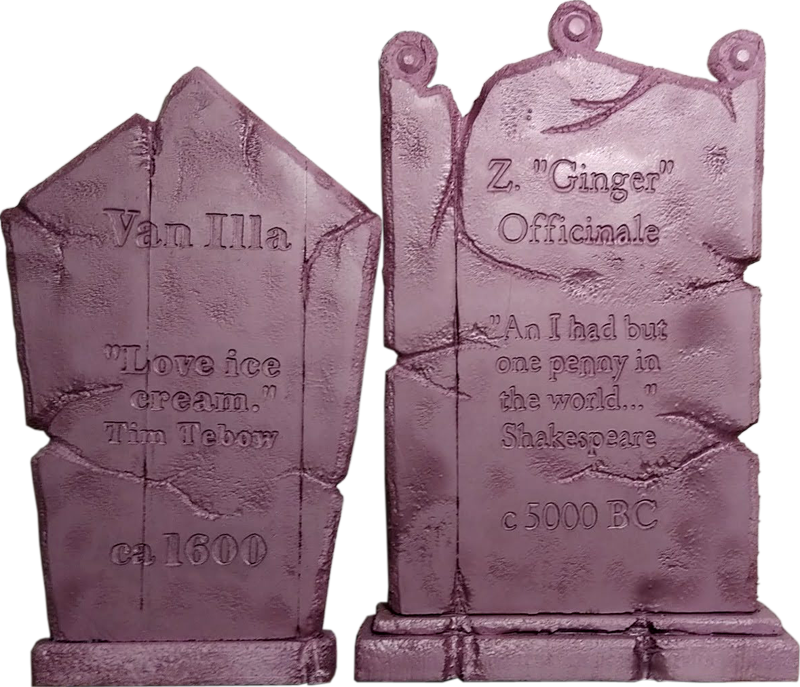
Most of our tombstones are around 20 inches wide by 34 inches tall. We used a drywall saw to cut out the tombstone shape from the foam board insulation and to give it the curved edges and cracks.
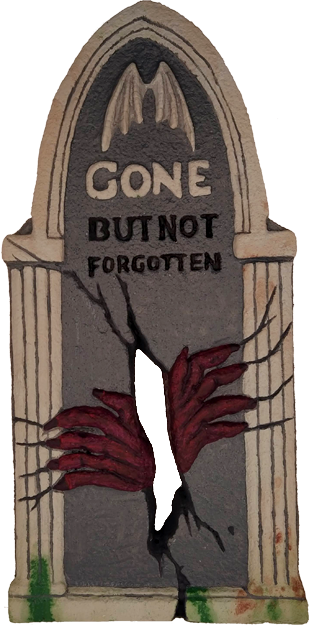
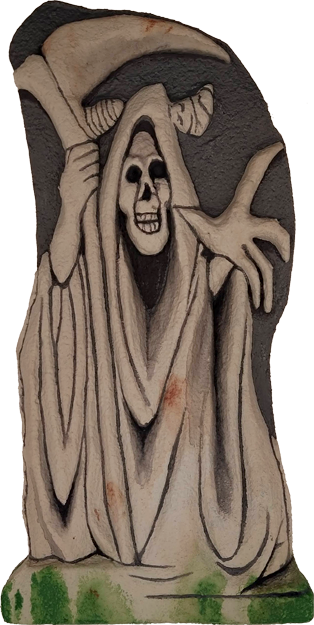
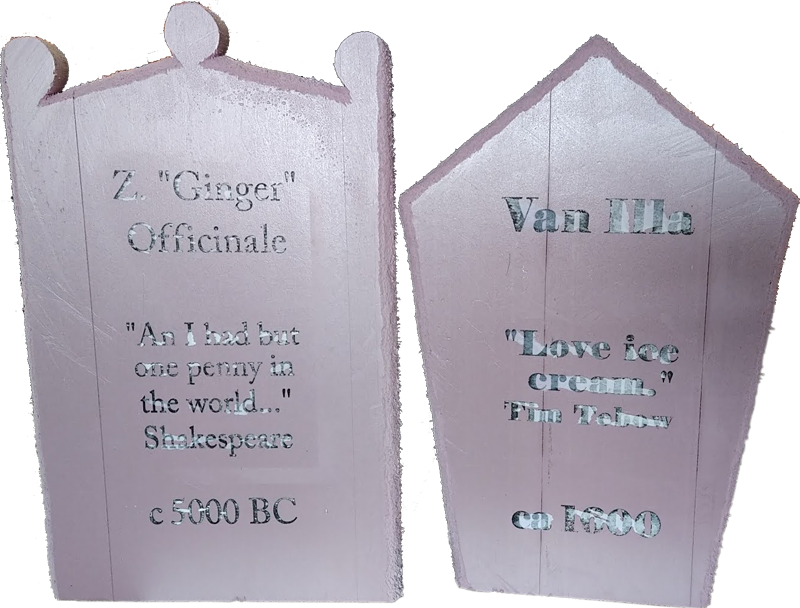
Here is a sample of some of the different stages we did...
Here is a sample of some of the different stages we did...
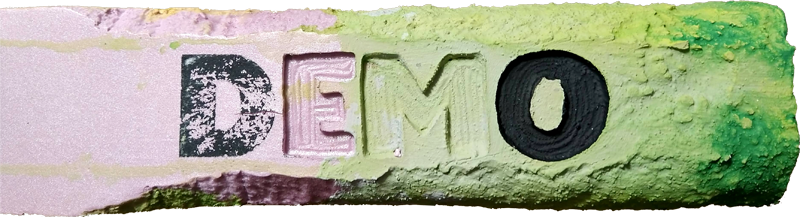
We printed out the text for the tombstones in a mirrored format using a laser printer. After printing on the same sheet of paper three times, in the same spot, we sprayed the tombstone with water, applied the paper toner side down (against the tombstone) and sprayed the back of the paper with more water. We then smoothed out the paper onto the tombstone and allowed it to soak enough so that the letters appeared through the paper, which we could then read everything properly. We placed a cloth over the paper and began to iron the paper using the lowest wool setting on the iron. If you set the iron too hot it will begin to add effects to the foam board insulation that you might not want. Once the toner began heating up, we were able to carefully lift the paper, starting from one end, off of the foam board, which left most, if not all, of the toner on the foam board insulation.
If you are adding a pedestal to the base of your tombstone, you could use either Gorilla glue or a hot glue gun to attach it to the bottom of the tombstone. If using a glue gun, draw a line where your tombstone would meet the base and make sure the hot glue is about 1/2 an inch from that line, so it doesn't protrude after glueing the two parts together.

You can use the heat gun to smooth out any rough edges created while using a drywall saw. Just make sure that you spray the foam board insulation prior to using the heat gun where you will working.
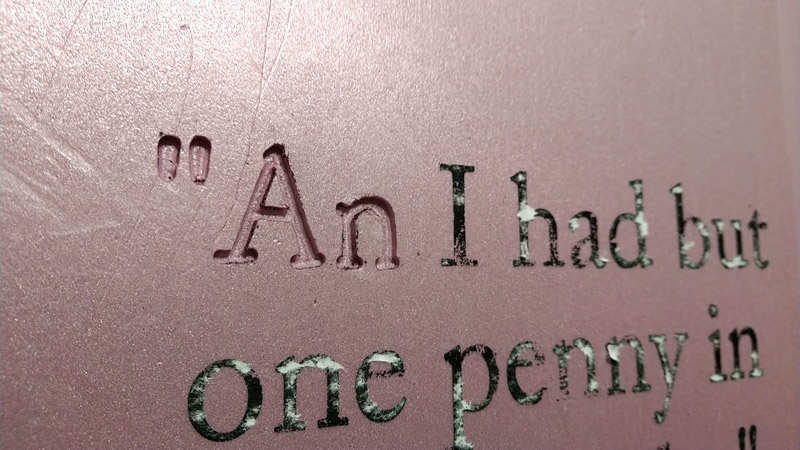
Removing the masonry sealer from inside of the letters, using the opposite end of a paint brush, while it is still wet is the easiest way to help the letters keep their shape. If you allow the masonry sealer to dry, then you might want to spend some time pressing the masonry sealer into the letters to even out the shape.

You might want to visit a nearby cemetary to get ideas for tombstone shapes and to see what type of weather effect(s) you might want to apply, to add to the realism. While at the cemetary, look at the years on the tombstones to get an idea of how your project will appear based on the year(s) that you include on your tombstone.
Most importantly, have fun coming up with ideas for the shape, name(s), epitaph and years on your tombstone(s)!